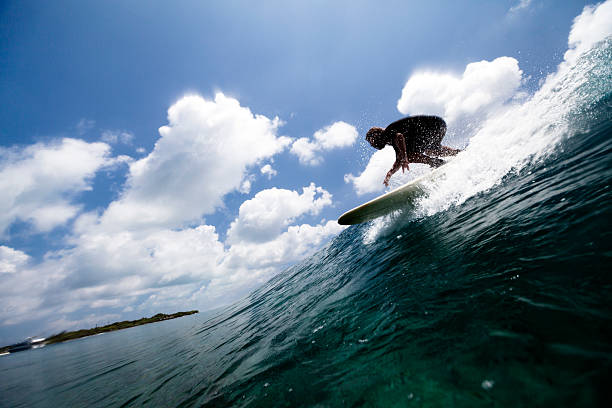
When you’re flying down a steep, square faced wall, your back foot searching for that sweet spot and the board starts to chatter beneath you, there’s nothing between you and a pearl dive except a few millimeters of EVA foam and some carefully placed grooves. Traction pads ain’t just a flashy accessory you slap on because your favorite pro has one. They’re the unsung heroes of surf gear essentials, the silent partner that turns a slippery ride into a locked in connection with your board. Without that extra foot hold, every bottom turn feels like you’re standing on a greased up watermelon, and nobody wants that kind of drama when the wave of the day is bending you into a deep barrel.
The whole idea of a traction pad goes way back to when surfers started realizing that wax alone wasn’t cutting it on those hot, sunny sessions where the board gets slick as a seal. Early adopters would glue strips of carpet, rubber mats from hardware stores, or even cut up old tires onto their decks. It was rough, it was scrappy, but it worked. Then someone smart figured out that a dedicated pad with a kick tail could give you that extra leverage for smacking the lip or dragging your tail through a carve. Now we’ve got pads with arch bars, diamond grooves, hexagon channels, and even raised heel cups that mold to your foot like a custom shoe. The evolution is wild, but the core purpose stays the same: you need that traction to stay glued to your stick when the ocean throws everything it’s got at you.
Let’s talk about the real science behind a good pad. It’s not just about stickiness — it’s about feedback. The foam density, the pattern of the grip, the thickness of the tail kick all send signals up through your foot, your ankle, your whole kinetic chain. A pad that’s too soft and mushy will absorb all the energy from your pressure, making your board feel dead. A pad that’s too hard will rattle your teeth on choppy waves and leave your arches screaming after a long session. The good ones hit that sweet medium where you can feel every vibration of the water through the glass, yet your foot stays locked in place when you’re putting maximum torque into a cutback. That’s the magic. That’s why surfers will swap pads three times before they find the one that just feels right under their back foot.
Placement is everything too, and it’s where most groms get it wrong. They see the pros with their pads jammed way up near the leash plug and think that’s the spot. But that’s for backside snaps and heavy rail work. For your average everyday surfer, the pad should sit so your back foot naturally lands right over the fins’ sweet spot. Too far forward and you’ll have no pivot on the tail; too far back and you’ll be fighting to keep the nose down in steep drops. A good rule of thumb is to line up the front edge of the pad with the back edge of the front fins or the center fin if you’re on a thruster. Mark it with a pencil before you peel that adhesive and commit. Once that sticky film grabs the deck, you’re locked in — no second chances unless you want to deal with a messy removal and a residue that’ll haunt you.
Now, the materials. Most pads are made from closed cell EVA foam, which is lightweight, waterproof, and durable enough to survive being baked in the sun, soaked in salt, and stomped on by a hundred sessions. But not all EVA is the same. Cheaper pads use lower density foam that compresses over time, losing that kick and grip. High end pads use multi layer construction with a firmer base for support and a softer top layer for comfort. Some brands even weave in fiberglass strands or carbon fibers to stop the pad from stretching out. The adhesive is also crucial — a peel and stick backing that holds strong through tropical heat and cold water winters. If you’ve ever had a pad bubble up or peel off mid session, you know the pain of having to paddle in and fix it while the waves are pumping.
Patterns are not just for looks, though a sick looking pad definitely gives you style points in the lineup. The diamond pattern with its raised edges offers multidirectional grip that lets you shift your foot without lifting it. Ribbed patterns channel water away from the contact point, keeping your foot dry even when you’re lying on the deck waiting for a set. Hexagon patterns create a honeycomb of tiny suction cups that grab your arch and heel. Some pads even have a micro textured finish that feels like sandpaper against bare skin, which is great for summer sessions with fin cut rubber but hell on your ankles if you’re not using a rash guard. You gotta match the pattern to your surfing style. If you’re a slider who loves to pivot and pull in, go for a diamond or crosscut. If you’re a cruiser who likes to set and forget, a smooth ribbed pattern gives you consistent feel.
And let’s not sleep on the kick tail. That raised ramp at the back of the pad is your best friend on a steep takeoff. It locks your heel in place so you don’t slip off the back when the wave pitches. It also gives you a fulcrum point for tail slides and fin releases. A low profile kick works for small waves and noseriders, while a high aggressive kick is for heavy barrels and airs where you need maximum leverage. Some modern designs even incorporate a removable kick section so you can dial in the height depending on the wave conditions you expect. That’s custom tuning at its finest.
Maintenance is easy but important. Rinse your pad with fresh water after every session to wash out salt and sand that can break down the foam over time. Store your board out of direct sunlight when possible — UV rays turn that nice black pad into a brittle cracked mess. If you notice the edges starting to lift, you can hit them with a little contact cement or a heat gun to reactivate the adhesive. But if your pad starts to feel like a smooth sheet of ice, it’s time to peel it off and start fresh. A worn out traction pad is worse than no pad at all because it gives you false confidence. You think you’re locked in, then boom — your foot slides and you eat rail.
In the end, traction pads are that extra hand that holds you in place when the ocean gets real. They’re the difference between a sloppy ride and a smooth connection where every movement translates directly into the board. Whether you’re charging Sunset Beach or just having a playful session at your local beach break, that extra foot hold lets you push harder, turn sharper, and stay on the wave longer. So next time you’re dialing in your gear, give that pad some thought. Choose the right shape, the right pattern, the right density. Stick it on with care. And then go out and surf like it’s the endless summer, with both feet firmly planted, chasing the sun.