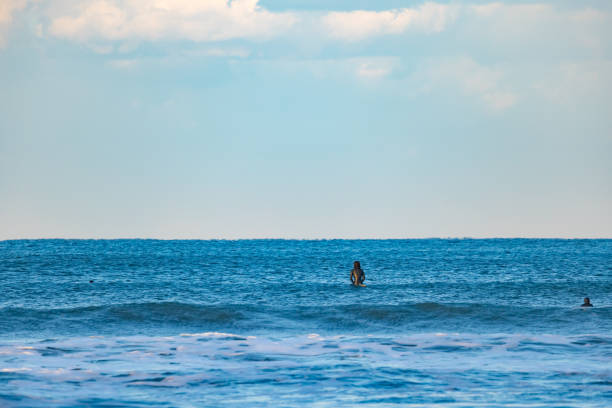
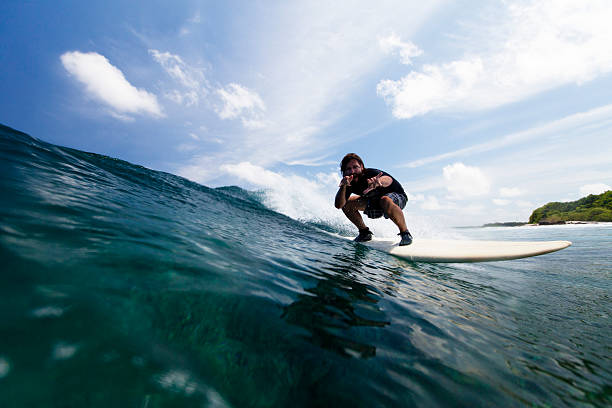
There’s a moment on every surf trip when you pull up to a spot you’ve never seen, paddle out with your heart thumping, and realize the ocean is doing something completely different than what the forecast said. That’s the raw deal. You can chase the hype or you can chase the horizon, but the real trick to scoring uncrowded gems is learning to read the ocean’s language before you even leave the rental car. Swell maps, tide charts, and wind apps are your cheap-ticket allies, but they only tell part of the story. The rest lives in how you vibe with the coast, how you trust your own eyes, and how willing you are to walk a little farther down the beach.
First thing to get straight: swell direction means everything. A groundswell from the southwest might pump like crazy at one break while the next bay over stays flat as a lake. When you’re plotting a trip, don’t just look at the height and period. Study the angle. If you’ve got a solid west-northwest swell wrapping in, point your car toward spots that face north or east. Those are the ones that’ll collect the energy like cupped hands. And period—longer period swells (anything over 12 seconds) travel deeper, hold their shape better, and wrap around headlands with serious intent. A 15-second pulse can make a mediocre sandbar turn into a rippable freight train. So when you’re checking the cams, always pair the buoy data with the actual break’s orientation. That’s how you find the spots the generic surfline hype misses.
Tides are the silent hand that shapes every wave. A break that’s hollow and dredging on a low tide can turn into a mushy closeout two hours later when the water pushes back in. You need to know whether the spot you’re aiming for is a reef, a sandbar, or a point. Sandbars shift with every storm, so the old tide advice from a guidebook might be stale. Reefs are more predictable, but they also have a nasty way of wearing your fins out if you get shallow. Your best move is to arrive during a tide window that gives you two different looks. Watch for a few waves before you commit. Don’t be the kook who paddles straight out into the danger zone without reading the setup. Hang on the beach, spot the takeoff zone, trace the rip currents, and see where the waves actually peak versus where they close. Five minutes of watching saves you a pounding.
Then there’s wind, the Godfather of surf quality. Offshore wind will groom the face into glassy walls and keep the lip from crumbling. Onshore wind turns everything into whitewater chop. But here’s the local secret: wind behaves differently near cliffs, river mouths, and point breaks. A little morning breeze might be howling at the exposed beach while the sheltered corner under the palms stays buttery. The key is to chase the sheltered spots during wind events. That means checking satellite imagery for tree lines, bluffs, and jetties. It also means getting up for dawn patrol. The wind tends to be calmest at first light before the sun heats the land and pulls in the sea breeze. If you get there late, you’re eating whitecaps.
The next level is reading the water once you’re in the lineup. You want to locate the rip lines, those darker, smoother channels where the water pulls back out. Rips are your free highway to the outside. Paddle out along one, and you’ll skip the washing machine. Watch where the waves are feathering, where the peaks jack up just a little faster. That spot is usually over a lump of sand or a reef ledge. If you see a break that’s throwing a bit of spray from the lip, that’s a sign of a hollow takeoff. Sit just outside the foam, not right on the peak. Give yourself a few feet of buffer to get your paddle strokes lined up.
Now here’s the part most travel guides never tell you: respect the locals, but don’t be afraid to ask. A friendly “what’s the next swell doing tomorrow” goes a long way. Surfers share stoke, not secrets, but they’ll respect you more if you’re in tune with the conditions. If you’re practicing good etiquette—catching your share, not snaking, zigzagging wide around the peak—you’ll get nods instead of scowls. And when you finally find that empty sandbar with a clean little A-frame peeling both ways, don’t post a geo-tag. Keep it to yourself. The ocean gives those gifts to people who truly listen, not to the ones who shout about them.
Finally, always pack a backup board. Travel surf karma is a real thing. The moment you leave your favorite stick at home is the moment a perfect glassy chest-high day appears. Bring a board you can thrash, a board you can duck-dive, and a board that makes you smile when you paddle out. The sandbar doesn’t care about your brand. It just cares that you showed up with a good attitude and a spare leash. Score the swell, not the fame. That’s the endless summer way.