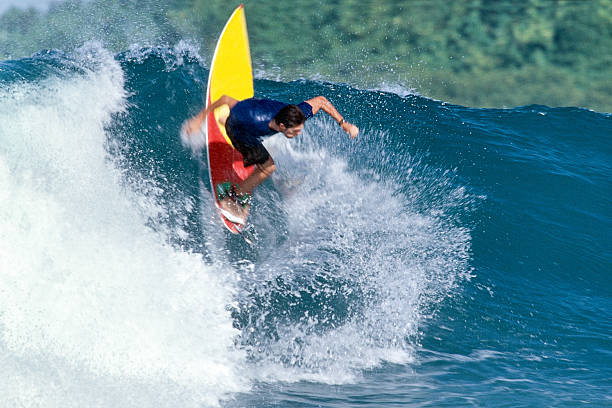
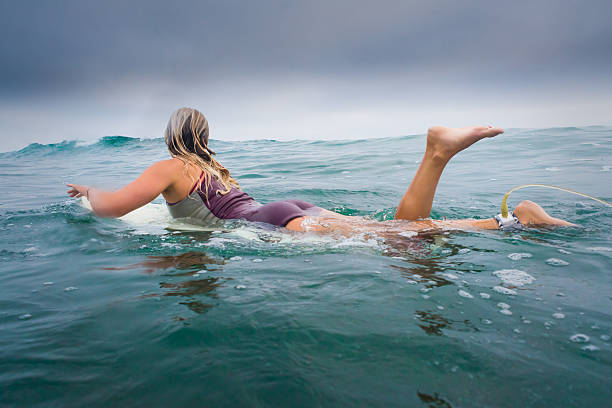
You ever paddle out on a glassy morning, drop into a clean little right, and then feel your back foot start to slip just as you’re laying into the bottom turn? That moment of micro-skid is enough to rattle your whole session. Nine times out of ten, it ain’t your fins or your footwork that’s the problem — it’s your wax game. Surf wax is the unsung hero of our stoke, the sticky little layer between you and a stacked rail-to-rail carve. But here’s the thing: wax isn’t just wax. Slapping on whatever bar you found in the bottom of your board bag is like wearing a winter wetsuit in August — you’re gonna sweat, or you’re gonna freeze, but either way you’re not gonna have a good time. The real secret to maximum grip is matching your wax to the water temp, building a solid basecoat, and then keeping that top layer fresh and textured like the bottom of a reef at low tide.
First off, understand that surf wax is temperature-sensitive for a reason. The polymers and resins that give wax its tackiness are designed to soften and flex within a specific thermal window. If you’re riding in 60-degree Pacific water and you’re using tropical wax meant for 75-plus, that stuff turns into a hard, glassy shell that has all the grip of a freshly waxed hood of a car. Your feet will slide like you’re doing a kickflip on ice. Conversely, if you’re in warm, soupy Florida water and you grab the cold-water blend, that wax turns into a squishy, goopy mess that leaves streaks down your board and gum on your wetsuit booties. You might as well be standing on a melted popsicle. So read the label, check the temp range, and dial in your wax like you dial in your fin setup. Cold water means harder wax, warm water means softer wax — it’s that simple, yet so many of us just grab whatever’s at the checkout counter.
Now, let’s talk about the basecoat. You ever see those pros with that thick, bumpy white layer that looks like cauliflower? That ain’t just good luck. That’s a proper basecoat, and it’s the foundation of your entire grip system. The basecoat is made for exactly that — building up a cushion of wax that the topcoat can bite into. You apply it in a hard, rapid scrubbing motion, pressing down firm and making small circles, not those lazy long strokes you do when you’re in a rush. The idea is to melt the wax slightly with friction so it bonds with the porous fiberglass or epoxy of your board. A fresh deck that’s never seen wax will need more elbow grease. Give it a layer that covers the whole standing area, then let it cool, then add another. You’re not trying to lay it on like peanut butter on toast — you want a texture. After a couple of layers, you’ll start to see little bumps. That’s exactly what you want. Those bumps are your traction anchors. And don’t be afraid to really lean into the area where your front foot lands and especially that sweet spot for your back foot — right over the fins or just in front of them. That’s where the magic happens.
Once your basecoat is solid, it’s time for the topcoat. This is your weather-specific layer. For most of us, that’s the same as the basecoat except you’re now using the correct temperature formula for the ocean that day. The topcoat is what your booties or bare feet actually touch, so you want it fresh. That’s why you comb your wax on a regular basis. After a few sessions, the little bumps get smashed down into a smooth, shiny film that’s about as grippy as a sealed envelope. Grab a wax comb — or an old fork if you’re a total beach rat — and rake that surface back up. You’ll see the wax flake up into a rough, granular texture that digs into the soles of your feet. That’s the stuff of endless bottom turns. But don’t overdo it. If you rake too deep, you’ll cut into the basecoat and expose raw board. Just a light, quick pass across the top is enough to resurrect the grip.
Here’s a few other tips that keep you locked in. When you’re waxing a brand new board, it can be a challenge because the surface is slicker than a seal’s back. Give it a quick sanding with fine-grit paper, like 120-grit, just to rough up the deck, then wipe off the dust, and lay down the basecoat. And always apply wax in the shade if you can manage it. Direct sun turns the wax to a soft sludge and makes even layers impossible. If you’re at a tropical break and there’s no shade, keep your board in the bag until right before you go out, and wax in quick bursts. Also, remember that surf wax doesn’t last forever. Heat, sand, and saltwater degrade the oils. If your deck starts looking like a crumbly old biscuit, scrape it all off with a plastic scraper and a little lemon oil or commercial wax remover. A clean deck lets the new basecoat bond like it should.
Ultimately, surf wax is your silent partner in every turn, every barrel, every last-second recovery. Treat it right, choose the right temp, layer it like a pro, and keep that texture alive with a comb. You’ll feel the difference the moment you take your first wave — your feet planted, your balance solid, and your mind free to just ride. That’s what maximum grip is all about. Stay sticky, brothers and sisters.